
How to install your gravel parking grids
Install the perfect gravel driveway with IBRADRIVE recycled plastic gravel parking grids
Getting the depths right and building upwards.
Before you even start laying any material or gravel parking grids, you will want to think about how deep your excavation needs to be. Work from the top down and ask yourself a few questions:
- Do you want to see the grids when they're installed and what size stone are you putting into the grids?
- How much sand will you use to create a level on top of the sub base?
- How deep do you need your sub base to be?
This info helps you work out not only the excavation depths but also how much material you need to order!

From the top down, you need a minimum of 40mm for the depth of the grid itself. Then you need to consider whether you want to see the grids or not - if you're happy to see them then you don't need to add to the depth. For a more discrete finish, add a minimum of 10mm for 10mm size gravel or 20mm for 20mm size gravel to allow for an extra layer of stone to hide the grids. If installing on a steep slope, it's best not to overfill the grids and hide them as they will not be able to retain stone that's not within the cells.
If you're using type 1 sub base, you'll need a minimum of 10mm sharp sand to create a level surface. If you've chosen type 3 for the drainage, the top surface will be made of larger lumps so will need more sand to create a level. This could be anything between 10mm and 30mm depending on how well compacted the final surface is.
Following this, the base needs to be between 80mm and 100mm in depth when compacted. This is the same depth for any sub base you put in and the more you put in, the more solid the sub base but the more compacting you will need to do.
So expect to dig anywhere between 140mm and 190mm depending on which combination of materials you choose to use.
It all starts with a good sub base - like with all good driveway installations.
To get the perfect sub base you will want to consider two things. Firstly the depth of the sub base is a key consideration and will have an affect on the stability of the top surface. You will want to install a minimum of 80mm of MOT sub base.
We tend to recommend choosing type 1 MOT sub base as it's a more affordable option with good drainage properties but you can also use type 2 or 3. There's a few differences between the options, based on the size of the aggregate and its coarseness, but the key to using any of these is to ensure they are well compacted and levelled. This ensures any air gaps or voids in the sub base are filled, which over time prevents any pot holes from appearing below the grids.
A useful point to consider when trying to compact any type of MOT sub base is to use a plate compactor. You should run over the top surface at least twice - first with the sub base dry, so that the big voids are filled and then again wet to draw the dust into the voids and bind the larger (up to 40mm) aggregates together.
Plate compactors are pretty affordable to hire from a local plant hire company and as important to the build as an excavator.
Once you've got the sub base as compact as you possibly can, it's time to prep the sand layer to go over the top. As with the depth illustrations above, you'll need to spread the sharp sand evenly across the sub base to a minimum depth of 10mm up to 30mm depending on the sub base type.
This sand layer should be screeded and compacted to create a perfectly level surface. Onto this layer, to prevent gravel and grid migration, you would install a layer of membrane which acts as a barrier between the layers.
Final surfacing and installing the grids
Whether you're installing on flat or sloped ground (up to 25% or 12.5°), the principle is the same for clipping together and insetting the grids within the excavation.
Two sides have male clips and the other 2 sides have female clips. The male and female sides interlock to create one continuous surface. To make installation quicker and easier for you, always orientate the grids in the same direction with the two male sides pointing towards your first edge. Work up and down the lines in a zig zag to save having to lift up the grids once they're clipped together.
The female clips will point into the area yet to be covered - this makes it easier to just slot the male clips over the top as you go along.
You may need to cut the grids in places. This won't undermine the strength of the grids but it does mean you will need to ensure the grids are bound into edging or the excavated wall. This stops stone spilling and also ensures a tight fit.
Ensure your edges are edged or well bound on all sides. This holds them in place, prevents damage and stops the stone spilling out. It also ensures that any changes in surfacing are seamless and smooth. This is especially important if you choose to install the grids onto an existing driveway surface and don't want to carry out excavations. The grids are designed to take load from above, not from the side - so install a ramp/edging if you are not excavating!
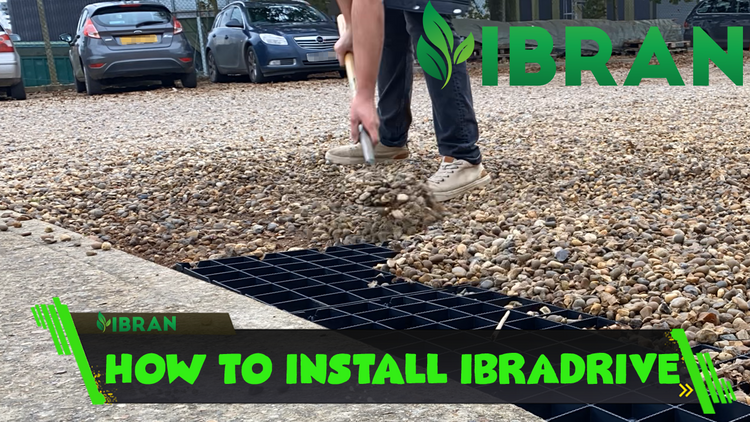
Once your grid surface is fully clipped together, then you can begin loading 15-20kg of your 10mm-20mm gravel per grid. No further compacting is needed to get the surface level or to inset the stones.
Once filled, your driveway surface is now ready to be driven over for years to come!