


FAQs
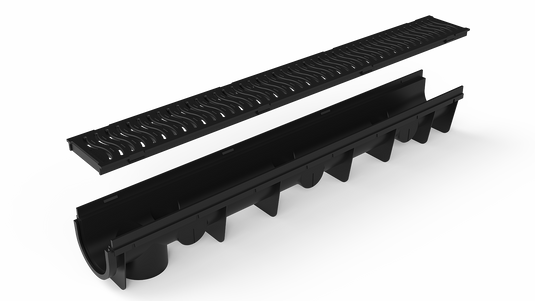
To install a run of drain grates, prepare the channel to at least 200mm depth. This gives you enough depth to set the drain channels into concrete.
To allow for adequate drainage, ensure that you include at least 5-10mm "fall" for each 1m in length. Position the vertical outlet above the rainwater drain. The slope should also angle towards your storm water drainage.
The vertical outlet has a cap that you should knock out and remove. This allows the water to drain away.
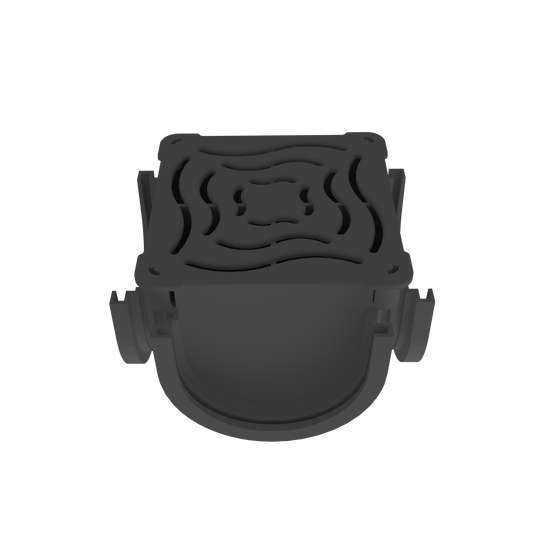
To create a 90º bend or other joints, use our quadbox/corner unit. These connect via the same male-female connections as the channels themselves.
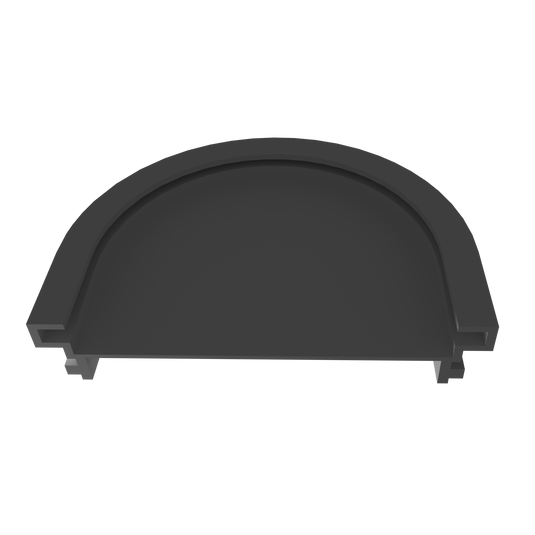
Once everything is in position, blank off the ends with our end caps. This stops concrete entering into the drains and blocking the flow.
Check the installation is effective and the water is flowing in the right direction. A simple test is to pour water into the furthest end of the drain. It should flow towards the outlet.
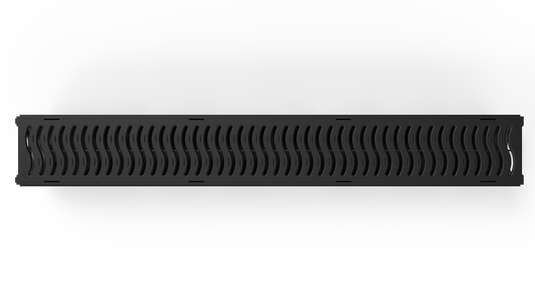
Tape over the grilles to protect them from any cement marks. Keep the drain grates on the channels whilst the concrete is setting so that they don't change shape.
To finish up, back-fill around the drain channel with cement to support all sides of the channels. The plastic needs compression from the concrete for it to be strong. Consider the plastic as a form for creating a concrete drain channel.
Yes. It's a little more involved than installing from scratch but the preparation is the same. You will need to cut away and remove a section for where you'll install the channels.
For existing patios or driveways, you may need to use a disc cutter or grinder to slice through your slabs. Make sure to measure the appropriate width and length before cutting. Use a straight edge to guide your saw along the length of the channel.
After that, just follow the same installation process as normal.
The recommendation we offer is to always drain your patio away from your house if possible. Try and include a gradient of around 2% in the direction away from your house.
But if it's very difficult to do this then you can use our drain channels. These gullies' design takes high volumes of water into account. Point the drains with a 0.5% to 1% slope towards a rainwater drain so they can empty out into them.
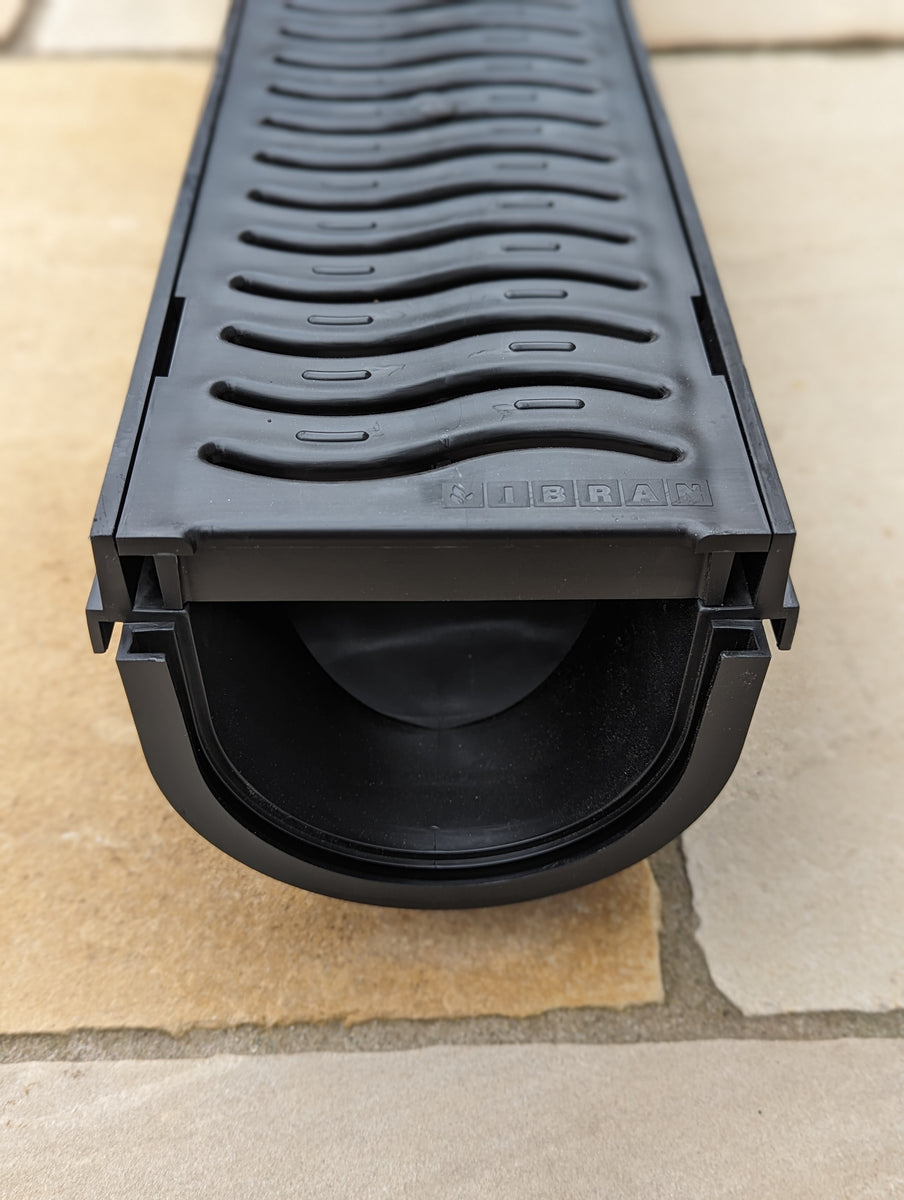
If you follow our installation guide, they're solid enough for light vehicular traffic. Think small family cars, rather than trucks, SUVs or fully-laden panel vans.
This is what the A15 loading class means.
Yes. The strength of all plastic-based drainage solutions comes from concrete.


Easy Installation
All Weather Drainage


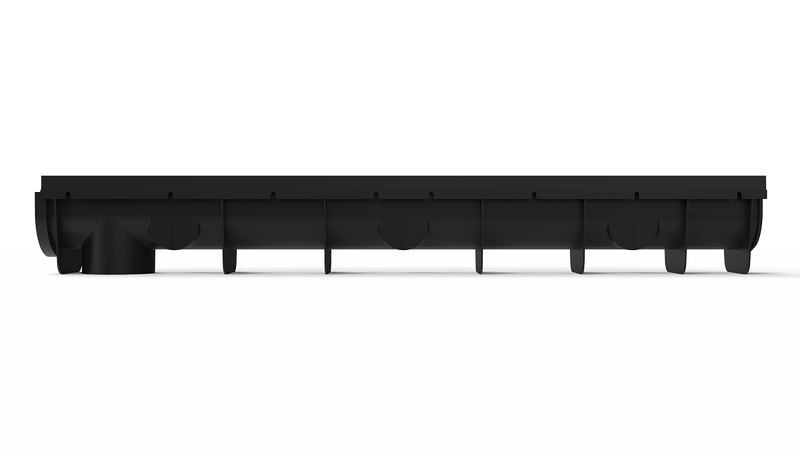
Specification
Specification Sheet
Full specifications for this product are available to download via our product specification sheet.